Showing posts with label organization. Show all posts

Monday, November 26, 2012

My Big Secret: New Work Space

I've been keeping a secret from you.  I've been selfish.  I'm sorry I haven't wanted to share my newest "toy" yet.  But now I'm ready to share it with you all.  Especially, since I had to clean it up for the big Thanksgiving dinner I just had at my house.  

It's my new school area that Mr. Incredible put together for me over the summer.    
Here it is!

As you can see it is the perfect workspace for my two boys and me.  The Anchor sits on the left since he's left-handed, and The Free One sits on the right.  I sit in the middle which allows me to help both of them at the same time and helps eliminate the silliness and arguing that would sometimes (OK, often) occur between them when they were facing each other on our kitchen table.

We each have a school box and a pencil cup.


And on our whiteboards we each have a magnetic dry erase marker, and a red apple timer that we use all day everyday to keep us on schedule.  The ticking drove me crazy at first, but now I like it.  It keeps us moving, kind of like we're working in a factory


The boys can earn tickets every day for doing their chores and completing their schoolwork.  Then they can redeem their tickets at Mom's Store.  Candy and screen-time are always best sellers.


Each boy has a magazine file on the floor next to them.  This gives them easy access to their workbooks.  I have a basket and a file box next to me for all of my teacher books and supplies.  No more walking back and forth to the cabinet.


This space is not huge, it's actually just one part of a wall in my dining room.  The kitchen table is right behind us and the big red hutch we used to use for our work-boxes has been pushed to the side.  You can see the corner of it in this picture.  It still holds all of our materials and books that we don't use every day.

So there you have it.  I hope you enjoyed tour, and if you have pictures of your workspace post a link to it in the comments below.  I'd love to see it!

Wednesday, October 5, 2011

Organize Children's Books, Grow Interested Readers

I had the sad realization that my kids would soon be growing out of children's picture books in the next few years.  Yes, I know, all ages can enjoy children's books, and we're definitely not going to stop reading them, but by and large we're really going to have to move on to books made for an older audience soon.  Brown Bear, no matter how cute and colorful it is, just doesn't capture the imagination of a seven year old quite the same as a toddler's; the teacher always sees the children looking at her in the end.

Since children's books have been on my mind I am dedicating this post to the organization of children's books.   I am also including some tips on how to nurture your child's interest in reading.

 #1:  Out with the old.  Get rid of books that are bitten, torn, or otherwise sadly mistreated.  Also, get rid of the books that have no value whatsoever.  If you don't like the pictures or the text, just get rid of it.

#2:  In with the new.  If you don't already have a vast collection of children's books, start collecting them from garage sales, thrift stores, used book stores, and clearance sales.  

#3:   Don't just organize.  Display!  It is best to store books at the child's eye level or on the floor in a basket with the front cover facing forward.  Books should be at a height where children can access them without help.  This also means they can be responsible for putting them away!  

#4.  Think out of the box.  In the picture below you see a galvanized rain gutter that my husband cut to fit the size of our sons' bedroom wall.  We taped up the rough edge and fastened it to the wall with screws.  This is a very cost effective "bookshelf."  What else could be used to display books?


#5.  Modify.  I painted this old shelf a vibrant yellow for the boy's playroom.  My husband, Mr. Incredible, cut strips of wood and fastened them on to the front edge of each shelf.  This allows the books to be displayed with the cover facing forward and prevents the books from falling off the shelves.
#6.  Keep books separate from toys.  Books are too easily damaged to be thrown into a toy box along with Mr. Potato head and a pile of wooden blocks.  The picture on the left shows the yellow bookshelf in the boy's play room.  Toys are kept separately in a toy barn (I'll save toy organization for another post.) 

#7.  Rotate.  If certain books are stored downstairs, rotate them with some books upstairs.  Switch books that are at the end of the shelf with the books that are in the middle.  Grocery stores do the same with their products to create interest and get you to spend more money!

#8:  Teach children to respect books.  I do not allow my kids to draw on or tear pages in books.  If a book gets torn I make a big deal about taping it up immediately.  If the book is fragile keep it out of sight and bring it out for supervised times only.  Small board books and cloth books are best for very young ones.

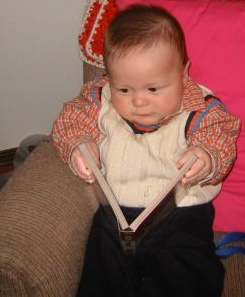
I couldn't resist putting in these pictures of my "Free One" enjoying board books when he was only months old.


#9.  Read to your kids.  This may seem obvious, but how many of our "well organized" bookshelves never get touched?  If you don't already have a scheduled time to read to your children, pick one (or two or three) and start today.  Our favorite times to read are after lunch and before bedtime.  My oldest son is starting to read more difficult books, so reading is hard work for him.  (There have been tears lately.)  So I think it is important that he continues to have a time each day when he can just sit back and listen to a good story.  It is also good to encourage siblings to read to each other.  In the picture below, the Free One is reading Curious George to his little brother.


#10.  Read Yourself.  OK, now I sound like I'm just repeating myself, but I want to emphasize that it is important that your children see you reading for your own enjoyment as well.  They usually want to do what they see mom or dad doing, so pick up a good book for yourself and don't feel guilty when you hear yourself saying "just a minute, I'm at a really good part!"


Thursday, June 16, 2011

How we do school.

FLYT Magazine file, white Package quantity: 5 pack  Package quantity: 5 pack
I'm a mix-n-match kind of person when it comes to teaching.  I don't think there is one right method, and therefore, I don't think there is one right curriculum.  I use what I like, change it if it doesn't work, and make up a lot on my own.  One important lesson I learned as a new teacher is:  Don't reinvent the wheel!  In other words, beg, borrow, or steal : )  (I'm kidding about the stealing part.)  So when it comes to what we do, I'm all over the board.

However, when it comes to how, I'm an everything-in-it's-place-at-the-right-time kind of person.  So when I realized that schooling at home is much different than in a classroom I found myself scrambling for a different way to get organized. The system we tried this year is loosely based off of Sue Patrick's Workbox System.  You can view her system and buy her e-book on her site.  I also got a lot of fun ideas from the Homeschool Creations blog.

The first thing I did was clear out the bottom of my dining room hutch.  I got rid of a lot of dishes, platters, and such that we rarely used and found storage for everything else in other cupboards.  As always, I was on a budget, so I found these magazine holders from IKEA.  (Shown above)  You can't beat $1.99 for five!  I also bought velcro dots and put one on each file and lined them up in my hutch.  The night before, I put all of my children's activities for the day in the boxes: workbooks, magnetic letters, puzzle pieces, rubber bands, coins...whatever they need for their lessons.  Sometimes I even put a snack or a "break" activity into a box.  If a lesson involves something that doesn't fit in a box, I keep it on the side of the hutch and just write instructions or draw a picture on a piece of paper to put in their box.  For example:  "Write the letters A, a, in the sand bin."
Hutch Doors Closed
Hutch Doors Opened
Next, I put a number on each of the boxes that they are to complete that day.  I found these cute Toy Story numbers here, laminated them and put velcro dots on them.  They were even blue and green which are my boy's colors.  (Yes, I color code my boys!)

"Clocked In"


When the boys have all of their chores finished and are ready to start school, they open up their side of the hutch and "clock in" by putting their picture into the "Clocked In" pocket that is on the inside of the door.  This helps them transition into work mode.  I created these on my "magic" computer and used library pockets I picked up at a dollar store.


Each boy has a plastic school box that contains all of the supplies they need daily such as pencils, crayons, rulers, scissors, glue, etc.  They are only allowed to use these during school time so nothing gets lost!  They just work through their boxes one by one and when they have completed a box they put the velcro number onto their number strip that is hanging on the inside of their door.  When all of the numbers are gone, they are done with school.  Everything gets packed up and put away and they "clock out."


"Clocked Out"
This kind system is especially great for small children who are not proficient at reading and for children with special needs who benefit from having a visual and tactile structure to keep them on task.  It is predictable, and easy to use.  For me, the best part is that they can start school even when I'm not ready to help them.  I will usually put an easy, self-explanatory assignment in the first couple of boxes to make sure they are not asking me for help right away.  Then, once I've got my coffee or tea, and the kitchen's cleaned from breakfast, I'm right there helping them work their boxes!

So how do you organize your school?  
Leave a comment...

Tuesday, June 14, 2011

Where we do school.

There was a time when I envisioned my children sitting in desks at home doing their schoolwork.  I even bought some antique looking school desks at a rummage sale one year.  You know the wooden kind with the seat attached to the desk.  They had inkwells and everything.  Ya, they sat in my basement for a couple of years...unused.  Then I turned a room in our basement into a schoolroom where I kept all of our supplies.  This was useful for a co-op that I ran out of my house for a couple of years, but for everyday homeschool it was impractical.  I needed my children to be in a place that was convenient for me.  That meant in the dining room right next to the kitchen.  Moms can understand this!  So this year I repurposed my dining room hutch for school supplies (more on that in another post) and my dining room table becomes their desk  I've also found that it is impossible to do school in only one location.  We move where our learning activities require us to be.  So besides the numerous field trips we take, here are the places that we "typically" do school every day.

After breakfast is all cleaned up and the boys have finished their "bathroom chores" they get their supplies from the hutch and start their assignments at the kitchen table.  I'm usually finishing up the dishes or getting another cup of coffee by this time.


When there is an especially messy assignment or an involved art project we usually go down to our craft room.  The kids can also come to this room whenever they want to paint or make collages or just create something.  Here we are making fossils for a lesson on dinosaurs.


Whenever we are reenacting something, playing a game, or doing something that is bigger than the table we usually end up on the living room floor.  On the left my son is putting together a big floor puzzle.  On the right my other monkey is doing math on the i-pad.  (No it isn't Halloween, they just like to wear costumes.)


For PE, or just because it's a sunny day we will often be out in the yard.  In this picture we are using the front yard for our Olympic games during a study on ancient Greece. The red plate is a discus.  Can't you tell?  : )

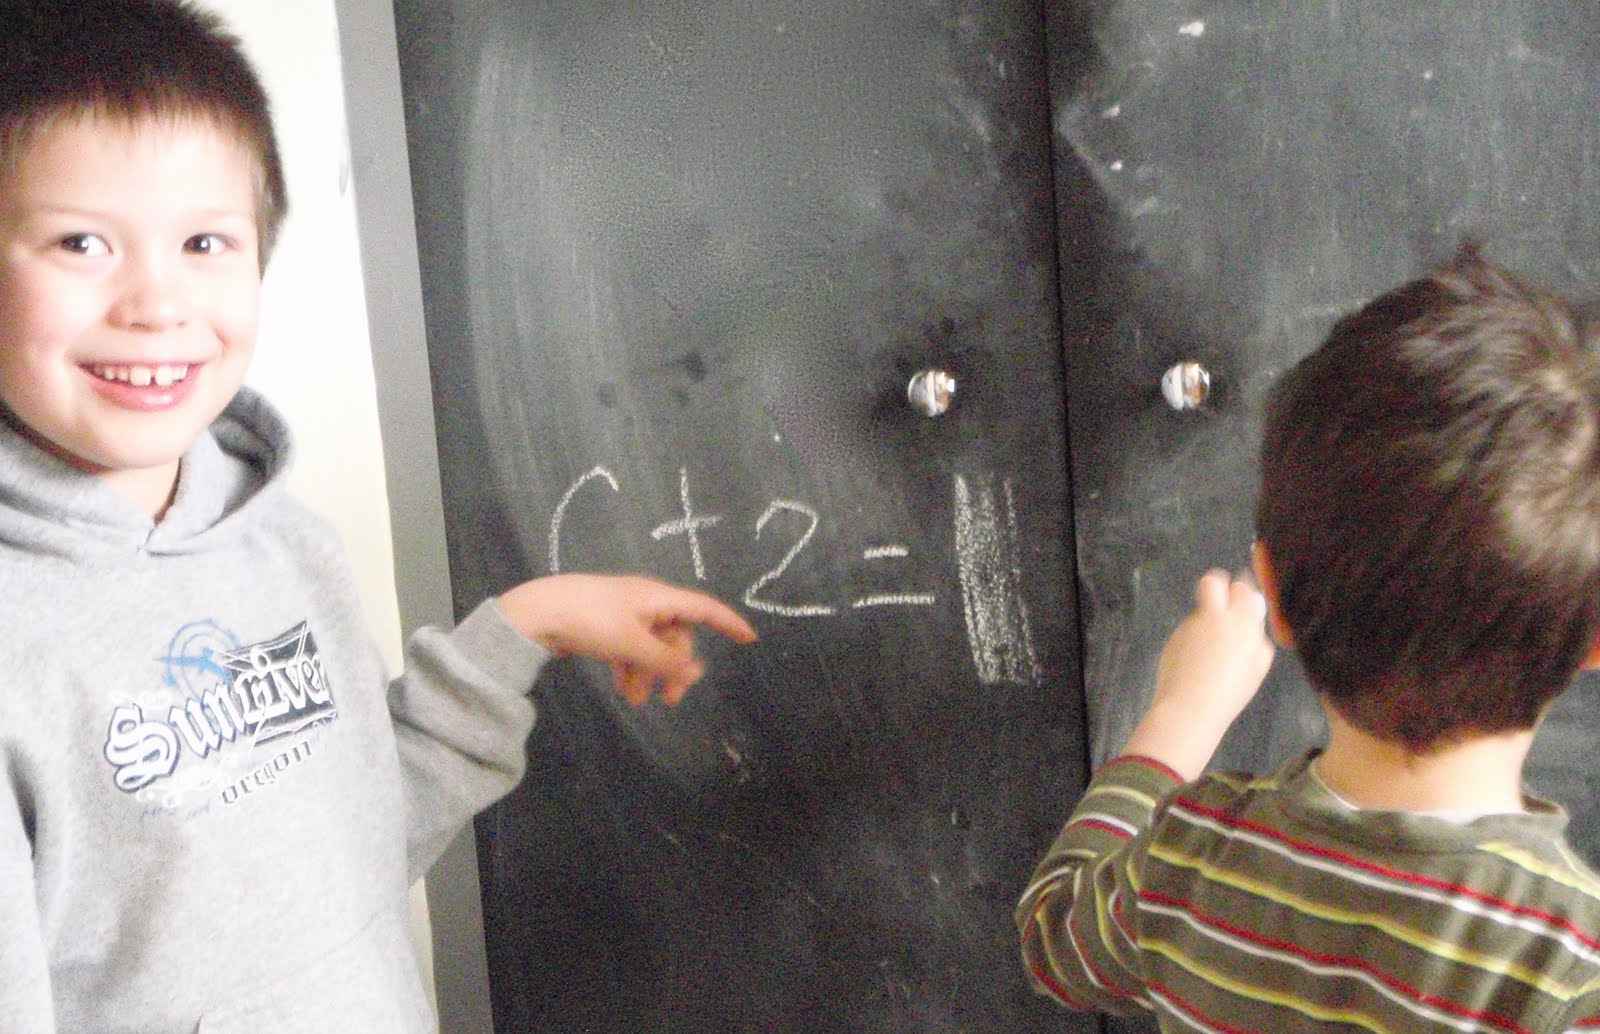
I painted the pantry doors with chalkboard paint mainly so I could write my shopping lists on them.  Little did I know that we would also use these for a good ol' fashioned black board for school.


So those are the places you will usually find us during school.  Now it's your turn!  
Leave a comment.  Where do you do school?